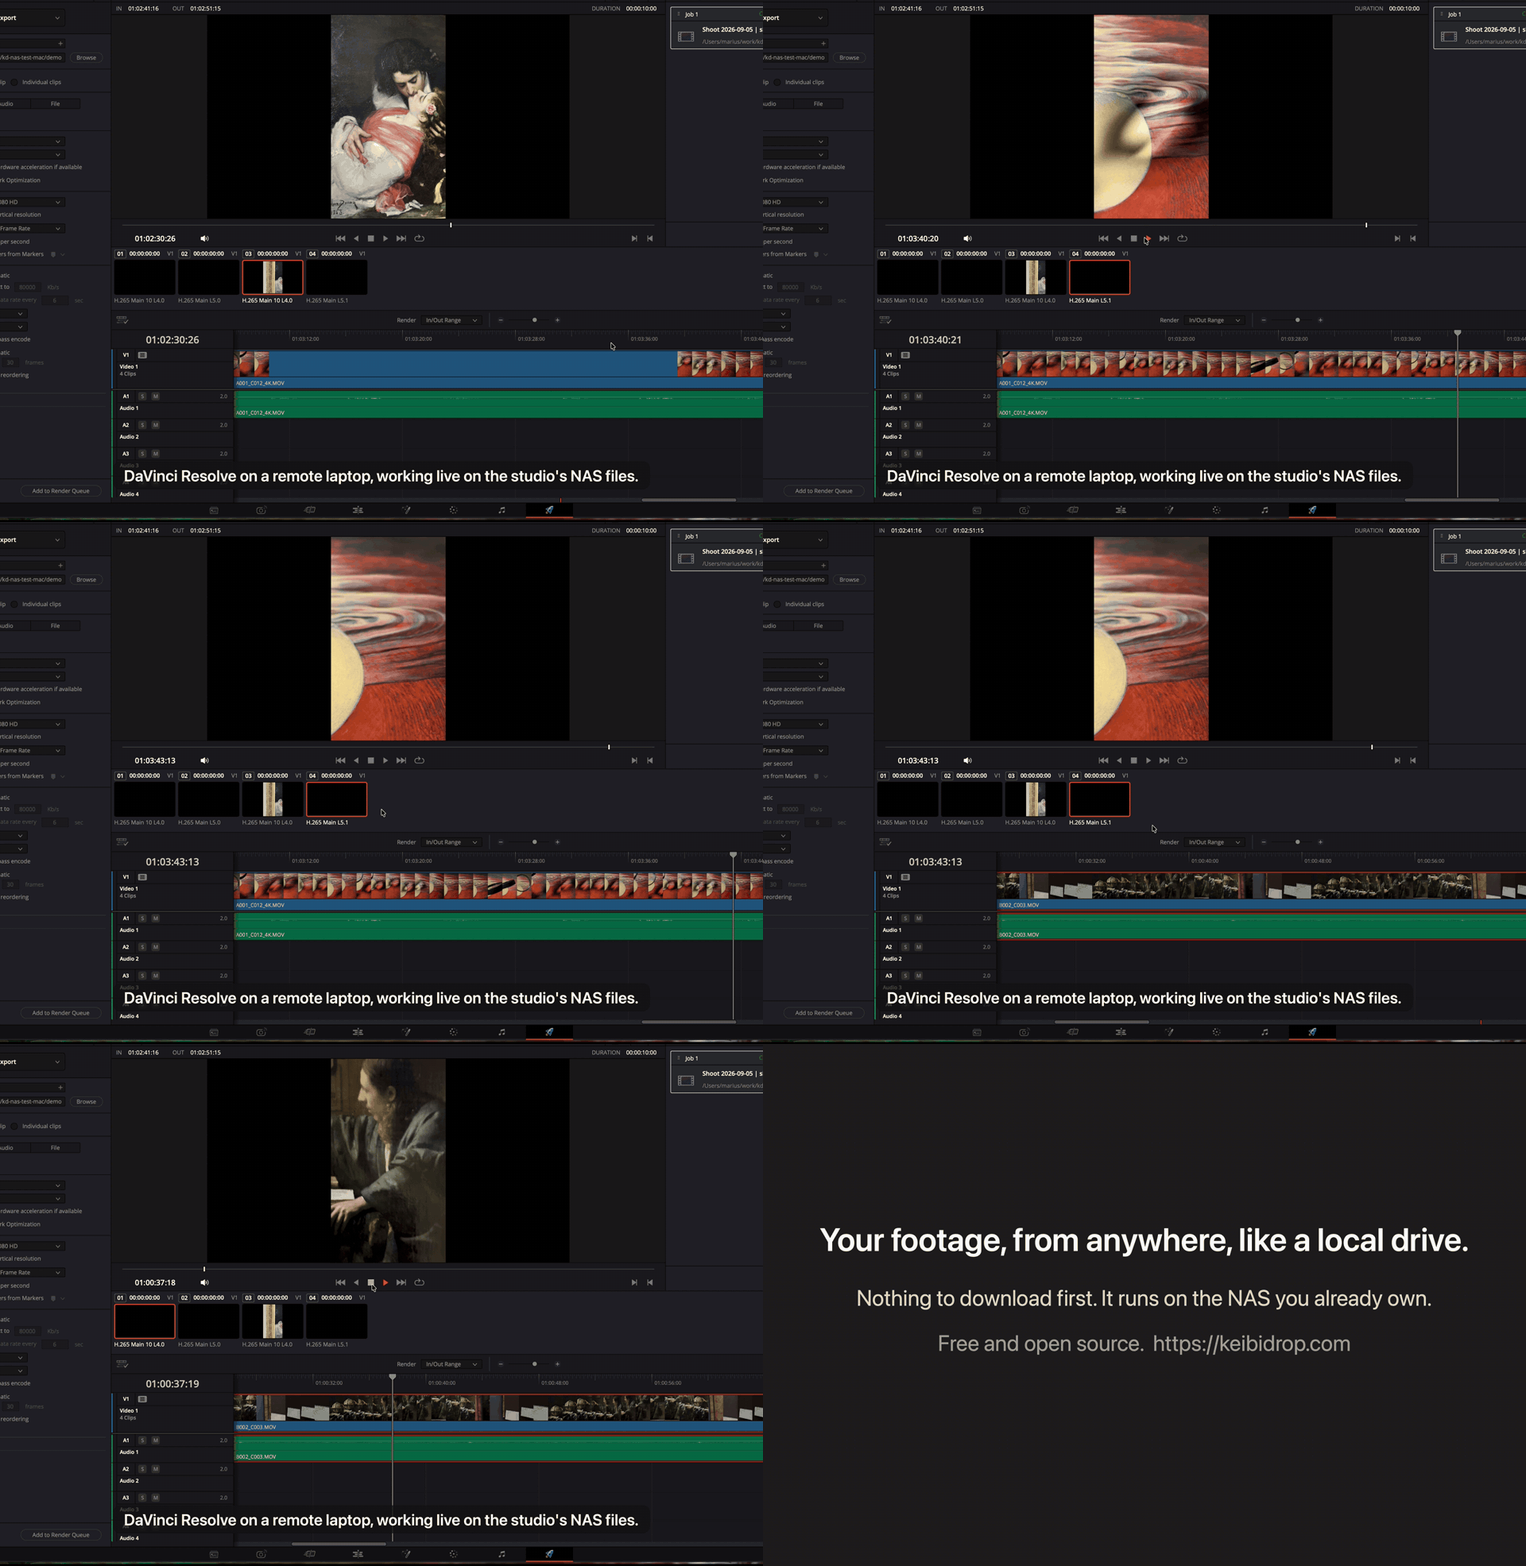
Your footage stays on the studio NAS and your files are always there. The laptop opens them on demand from Resolve, with no waiting for a download or an upload; the parts you play, scrub or export come over as you touch them.
You can work on a cut in DaVinci Resolve from a hotel, a train or home while the footage sits on the studio NAS. KEIBIDROP shows the NAS folder on your laptop, and Resolve reads it like any folder; the same goes for Final Cut and Premiere. The setup: add it as a media storage location, keep a local disk as the first location, leave Direct I/O off, and import from it. Import reads the clip headers. Building the timeline reads one frame per thumbnail position. Playback and export read what they play or render, plus a window ahead. A jump reads the part you land on. Nothing is copied ahead of time.
Two minutes, recorded on 8 September 2026 on a cold mount: a NAS in Timisoara serves a folder of seven clips, a laptop 400 km away imports four of them, 35 to 131 MB each, into Resolve, plays them, jumps between them, seeks, then exports ten seconds. The link is a home connection through the KEIBIDROP bridge. The captions tell the story; there is no sound.
Two minutes. Twenty seconds of it, play and jump, as a GIF.
/Users/you/NAS. It becomes the second entry. "Mapped mount" is for translating a share path between operating systems and is not needed here.Import from the mount as from any folder: the Media Storage panel, drag and drop, or File → Import Media. Build the timeline, play, scrub, colour, export. Export to a local folder or to the mount; an export to the mount lands on the NAS at the box's download speed.
| Step in Resolve | What crosses the internet |
|---|---|
| Import | The clip headers. |
| Building the timeline | One frame per thumbnail position of the filmstrip, for every clip on it. This is the largest step before the first play. |
| Play | The frames being played, plus a window ahead so the playhead does not wait at the next block. |
| Jump or seek | The part you land on. The first frame after a jump into an untouched part arrives after one fetch. |
| Export | The frames the render reads. |
| Second pass over anything | Nothing. The parts already fetched stay on the editing machine. |
The project library, the cache and the proxies stay on the editing machine (or in Blackmagic Cloud). Only the media lives on the NAS. This is the same split the cloud file-space services use, and the same reason: the project database wants a local disk, the media wants to stay where it is. See hand a database between machines for the library itself.